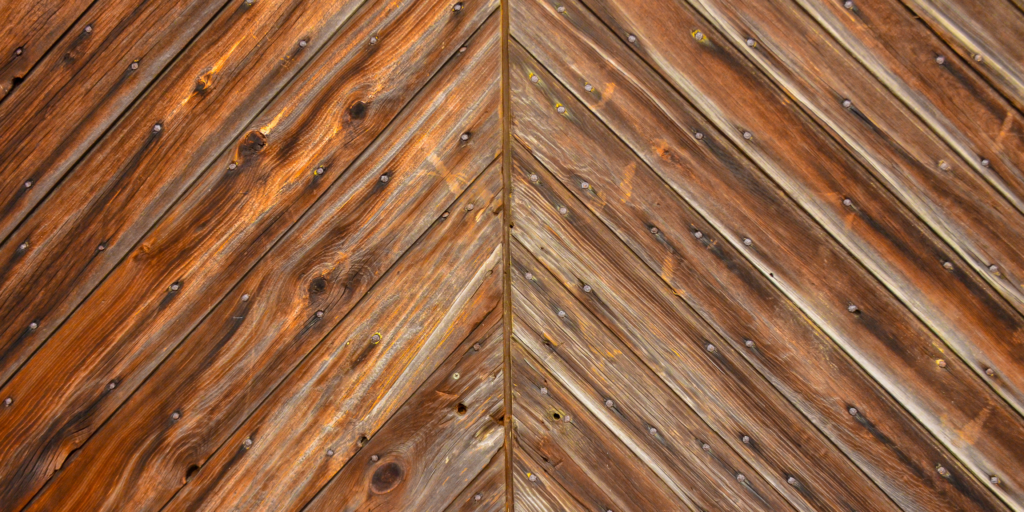

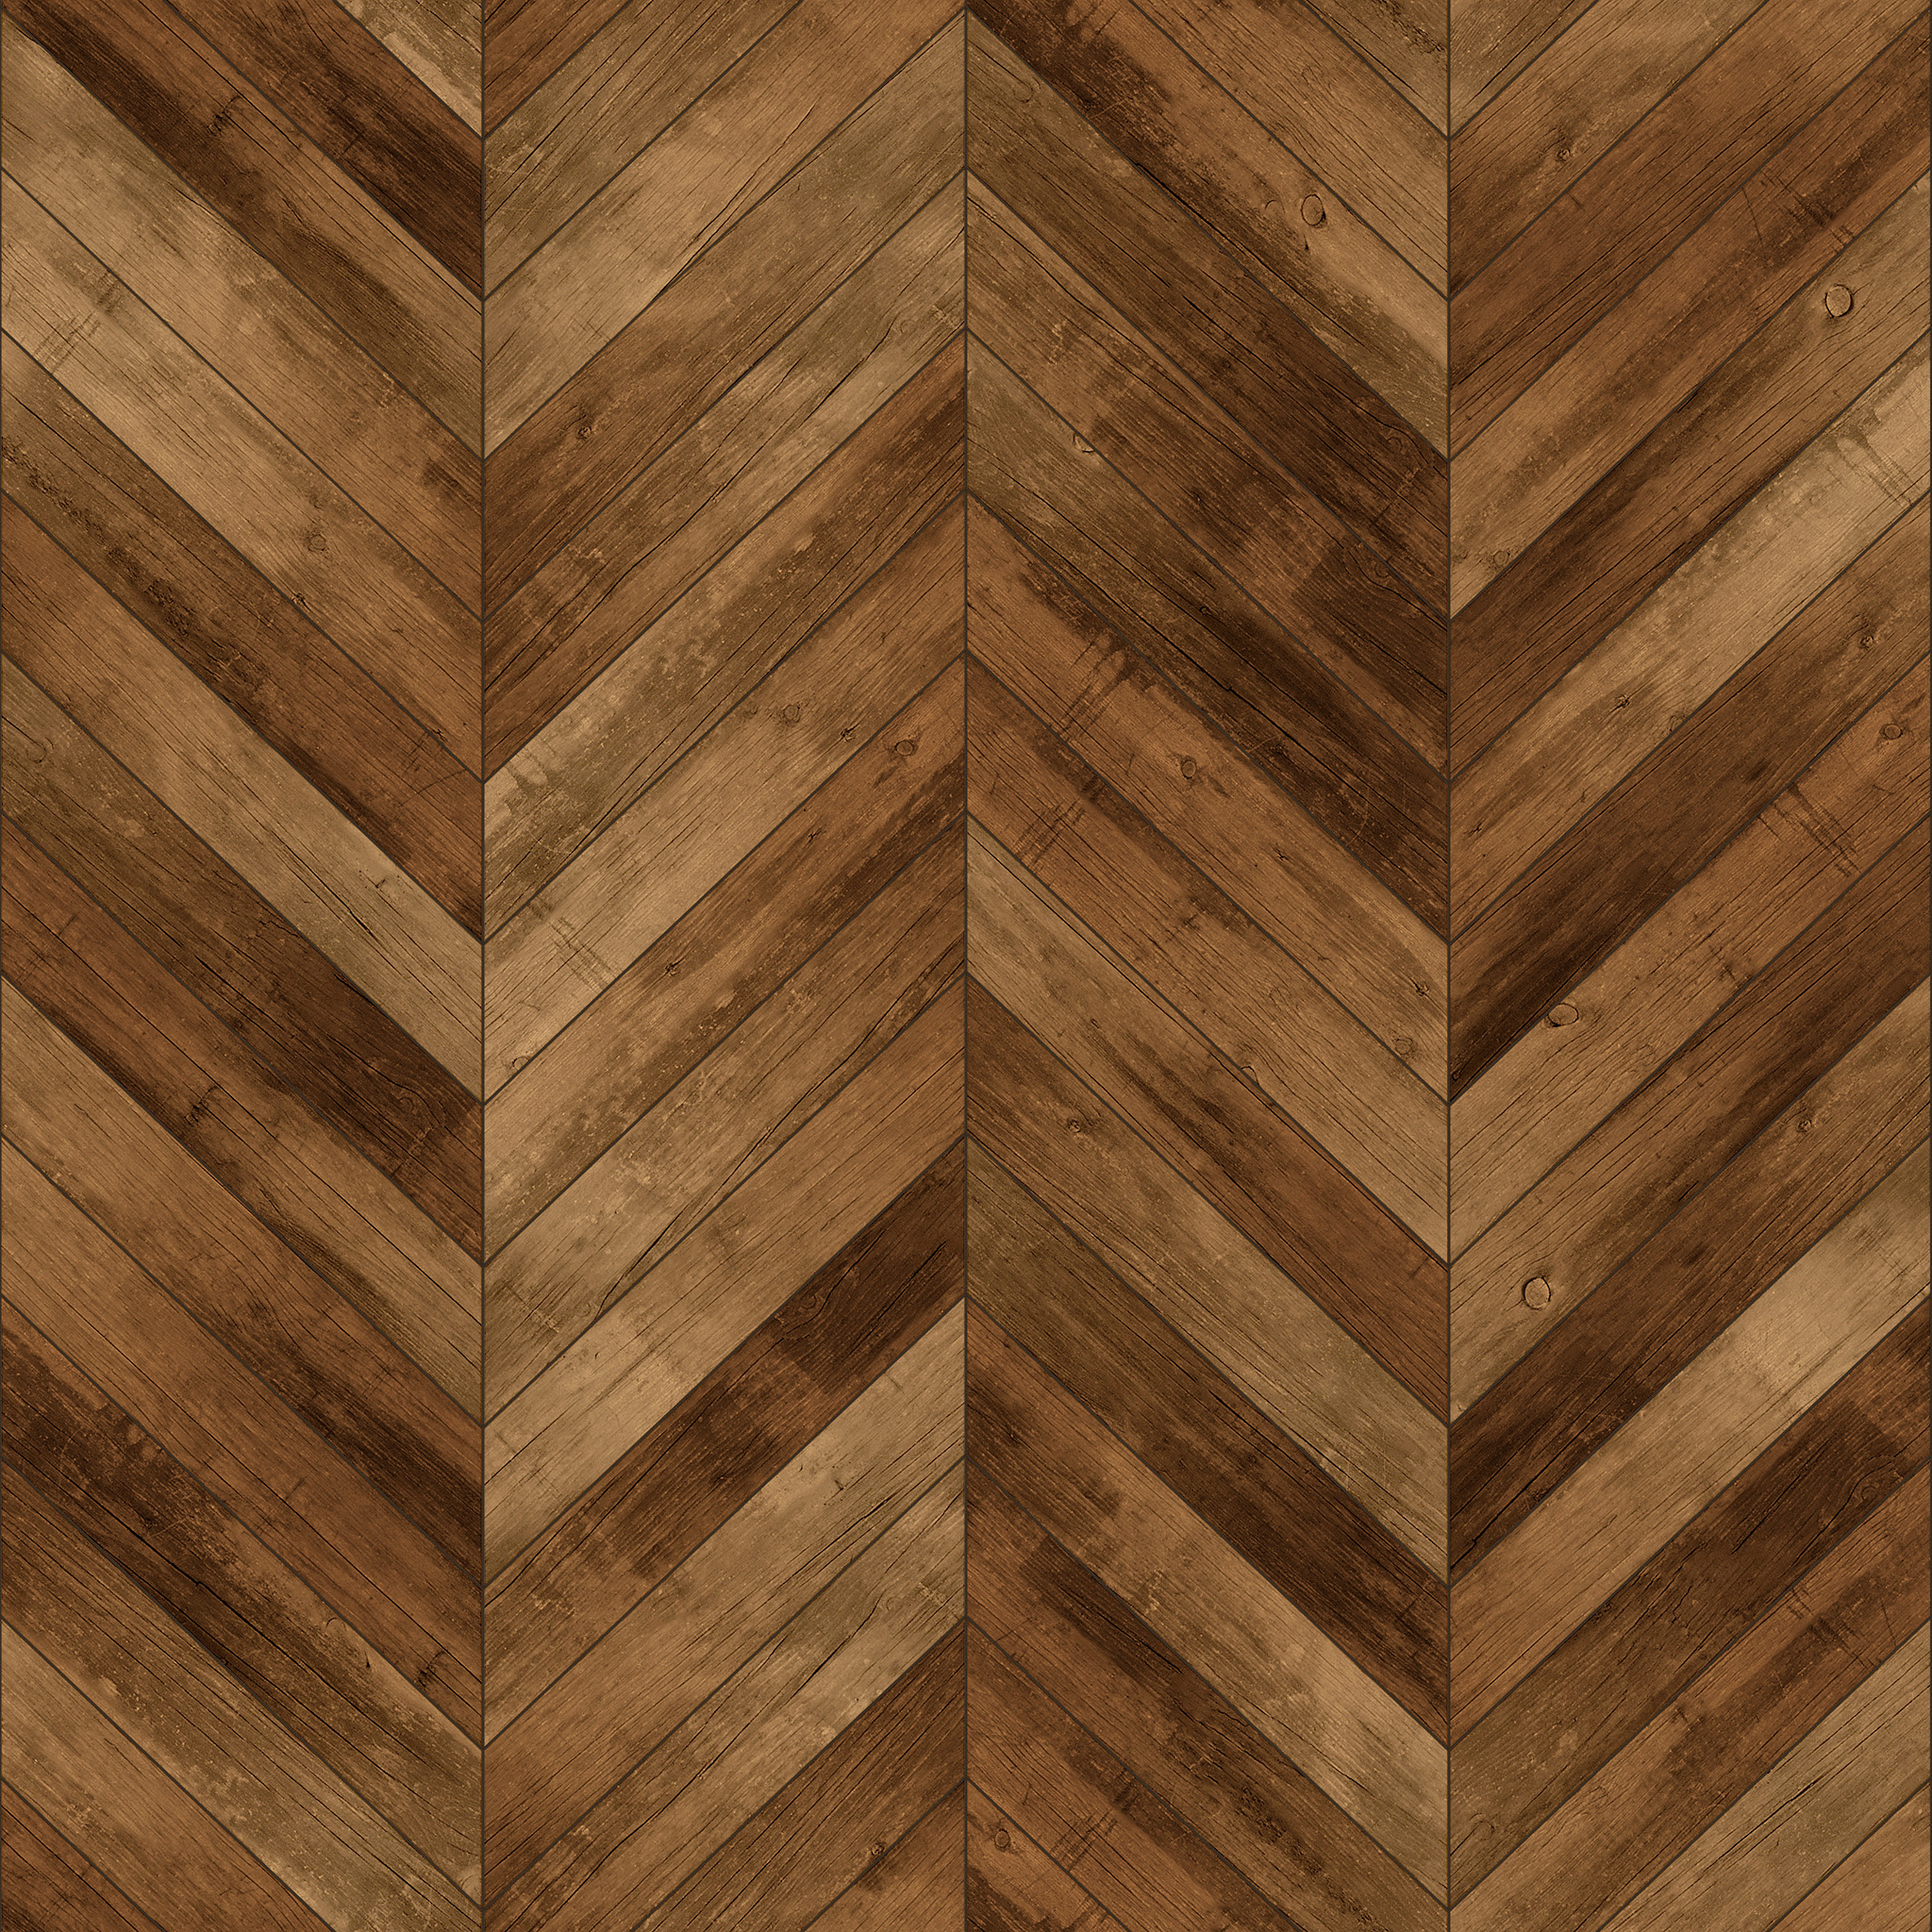
How To Modernize Your Home With A Chevron Accent Wall
It’s no secret that accent walls are all the rage right now. But what if you want to switch things up and try something a little different? Chevron accent walls are the one of the latest trends in home décor, and they’re a great way to add visual interest without making too dramatic of a statement.
Whether you’re looking to add a pop of color or just change up the look of your room, a chevron accent wall is sure to turn heads. Plus, it’s an easy DIY, so you can customize your home exactly the way you want it.
Keep reading for tips on how to create your own chevron accent wall.
Materials/Tools You’ll Need
- Reclaimed wood planks
- Carpenter’s glue
- Measuring tape
- Level
- Miter saw
- Pneumatic nailer with compressor
- Safety glasses
Choose The Right Location
Chevron accent walls look best when they are placed in an area that gets plenty of natural light. This will help to highlight the unique pattern of the wood and make your accent wall really stand out.
Prepare Your Wall
Once you have found the perfect spot for your new DIY chevron wall now it’s time to get to work preparing the surface. If you’re planning on covering the whole wall with chevron planks you’ll need to remove any existing molding before starting. An oscillating tool will make quick work of cutting through both ends of the molding, which will make it much easier to remove.
Next, use a retractable blade knife to cut through the latex caulking that is holding the molding in place. With the prep work out of the way, you’re now ready to start installing your new chevron wall!
Start With The Measurements
Since your installation has a chevron pattern, measure the wall to find the center and then use level as a guideline. It’s rare for floors to be perfectly even so try finding where the floor’s highest point is; This could be on either side of your center line. There’s going to be a little bit of gap at the bottom in certain places but don’t worry, you can cover that up with molding when you finish the installation.

Cut And Install The Full-Length Planks
Cut your first two planks to the desired length. If you’re using different lengths of lumber, be sure to cut them all to the same length. Next, following your central guideline, install your first plank at a 30 degree angle.
Make sure the tongue is facing upwards and don’t forget to position your plank according to where the highest point is. Make sure each nail head is level with the board when you nail the plank down the tongue at an angle so that it doesn’t interfere with the next row of nails. Don’t forget to glue the joint for extra strength.
Once your first plank is in place, align your second plank with it and use the ends as markers to create two more guidelines. Use a level to make sure your lines are straight, then proceed with nailing the rest of your planks into place.
Measure and Cut the Shorter Planks
To measure the size of your shorter planks, line up one with your corner, place it over top of an existing board and mark according to your guideline. You’ll now have a new dimension to your cutting. Make sure you maintain this same angle when making all future cuts so they fit right against each other without gaps between them.
Now cut that same angle on both ends of each new plank. Here’s a tip: make the new cut on the side facing the wall. Now it’s time to install the rest. This is where things may get challenging since you need to start in the center to make sure everything is level—but don’t worry; if you have trouble getting the planks to fit properly, then just tap them lightly into position with a scrap piece.
If something doesn’t seem quite right once assembled, keep going and rely on the center joint created by your planks until each board has been fitted correctly relative to its surroundings.
When cutting your last few planks, you’ll have to take into account the angle of each board so that they are all perfectly aligned with one another and fit flush against your floor or ceiling.
Measure the length you need, then take a scrap piece and line it up with your center guideline. Next, place another plank against the ground, and trace the angle you’ll need to reproduce.
Measure and Cut The Last Planks
Cut the plank along your newly drawn angle and use it to trace the correct angle onto your full-length plank. As the planks are grooved, make sure to measure along the surface rather than the edge so that the tongue and groove edges get placed in the right direction. To save time on the rest of the boards, just utilize your new template. To make this work, you need only adjust the length measurement. For the other side of the wall, you can just reverse it. However, if your floor is particularly unlevel, you should repeat the process and check the fit carefully before mounting anything.
You will also need to cut two different angles for the ceiling. This can be done by measuring the distance from the top of your last plank to the ceiling. Make sure you get an accurate angle!
Use the same process as before to find your angle and measure out the correct length of the plank. You now have both lines that need to be cut. The angle next to the wall is always 30 degrees. Keep going until the wall is done. For a nice finish you can add a piece of molding.