

How to Use Danish Oil for a Professional Quality Finish
Table of Contents
Have you ever marveled at the glossy, smooth finish on a beautifully-crafted piece of wood furniture? If so, chances are that item has been lovingly hand rubbed with Danish oil. But what is Danish oil, and why is it the go-to finishing treatment for so many woodworking enthusiasts? In this article, we’ll explore the many benefits of Danish oil and how to apply it for a professional-quality finish.
What is Danish Oil?
Danish oil is a blend of oils, such as linseed and tung oil, which are known for their ability to penetrate the wood and protect it from the inside out. This makes this oil an ideal solution for wooden surfaces that need to be water resistant, such as outdoor furniture or kitchen countertops. Not only is it easy to apply, but it also gives bare wood a rich, deep finish that enhances its natural beauty.
The Many Benefits of Danish Oil
There’s a reason why Danish oil is so popular among woodworking professionals and DIY enthusiasts alike. Here are some of the key advantages of using Danish oil on your wooden surfaces
- Ease of application: Applying Danish oil is a simple and straightforward process which makes it highly appealing to woodworkers of all skill levels.
- Water resistance: Danish oil makes the surface of the wood water resistant, ensuring that your wooden items are protected from the elements and everyday spills.
- Works with various types of wood: this oil is compatible with nearly all types of wood, making it a versatile finishing option for your projects.
- Enhanced natural beauty: One of the greatest appeals of Danish oil is how it brings out the natural grain and color of the wood, resulting in an eye-catching and professional-quality finish.
How to Apply Danish Oil?
- Sand the surface: Start by sanding the wooden surface with a low grit sandpaper (e.g., 120-grit) and gradually progress to a higher grit (e.g., 320-grit). Remove any dust before proceeding.
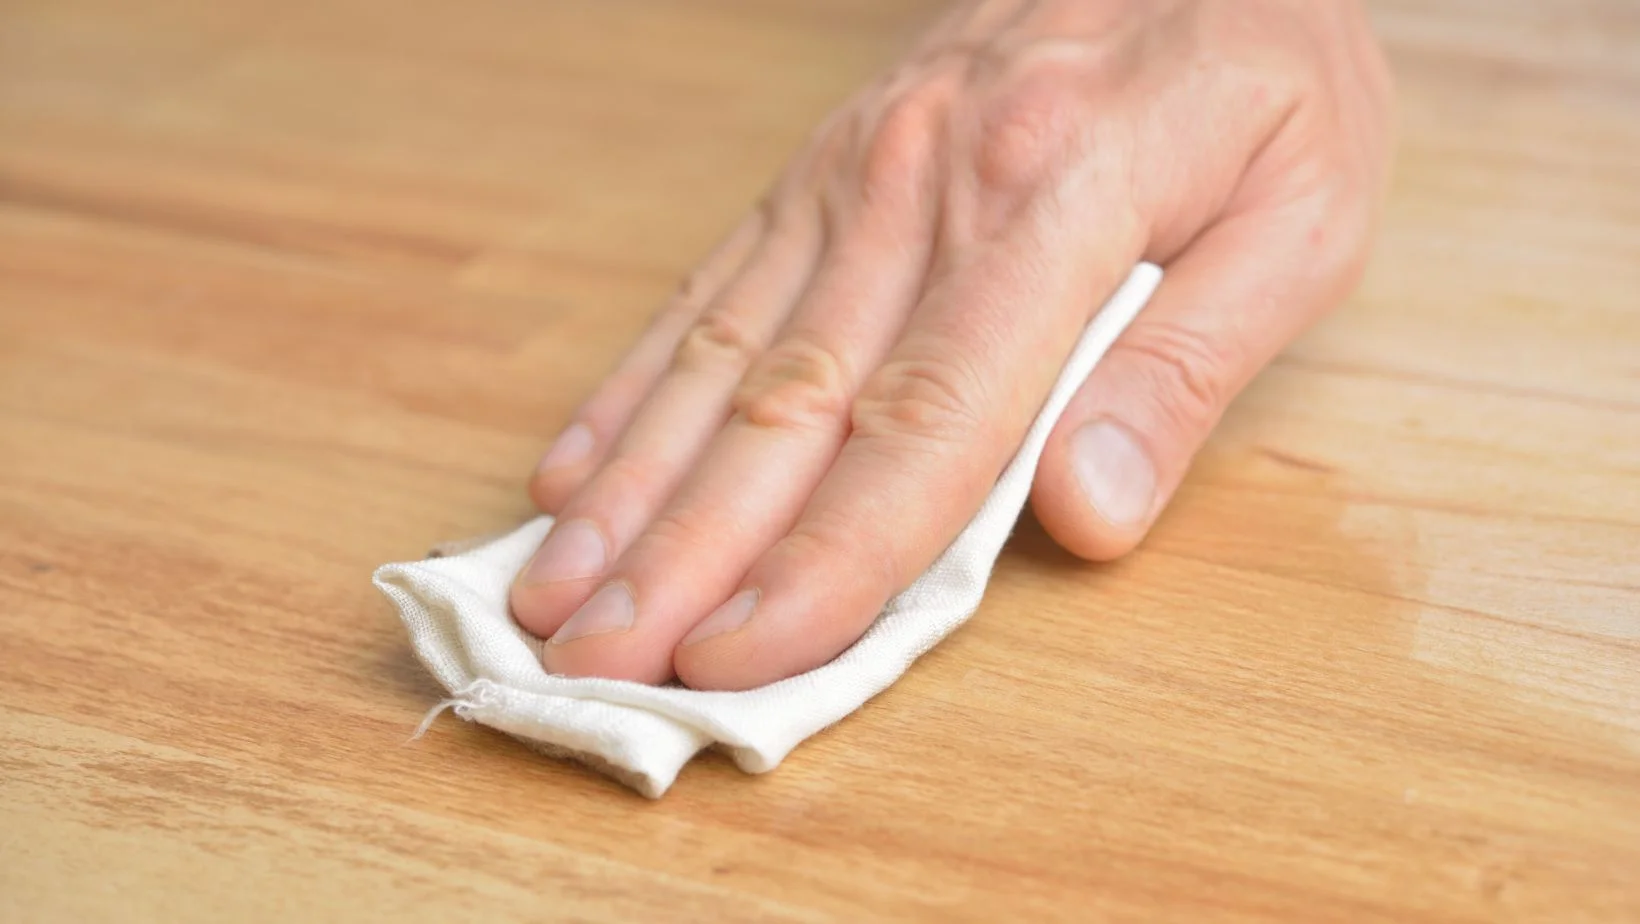
- Apply the first coat: Stir your oil thoroughly, ensuring it’s well mixed. Apply the oil liberally using a lint-free cloth, brush, or foam applicator, following the wood grain’s direction.
- Allow drying time: Danish oil typically requires at least 12-24 hours to dry in a well ventilated area. However, it’s advisable to check the manufacturer’s recommendation for specific drying times.
- Remove excess oil: Gently wipe off any excess oil using a clean, lint-free cloth and make sure to go across the grain.
- Repeat the process: Apply additional coats of Danish oil, following the same procedure, allowing ample drying time between each coat. Three coats are generally recommended.
- Final Buff: Once the final coat has dried completely, lightly buff the wood’s surface with a fine-grit sandpaper or steel wool.
Danish oil is an excellent choice when it comes to achieving a professional quality finish. Its combination of deep penetration, natural sheen, and protective qualities make it the ideal woodworking finish. Through careful application and attention to detail, anyone can produce a stunning and unique final product. With the help of Danish oil, the labor put in is worth every stroke of your brush when you activate your true woodworking potential. So take a step back from traditional finishes and give Danish Oil a shot – you’ll be glad you did!
