Shellac is a versatile and adaptable finishing product that has remained a staple in the woodworking and furniture restoration industries for centuries. Known for its rich luster and protective qualities, shellac can be tailored to fit any project’s specific needs.
Whether you’re a seasoned craftsman or a DIY enthusiast, understanding how to mix your own shellac will unlock a world of possibilities for your work. This comprehensive guide will empower you with the knowledge you need to create your custom shellac finishes.
The Importance of Customizing Your Shellac Finishes
The final appearance and texture of the woodworking objects you create can be controlled by modifying the shellac finish you use. Finishes of varied thicknesses and sheens can be crafted by altering the proportion of shellac flakes to solvent in the formulation. Additionally, if you experiment with various kinds of shellac flakes, you may end up with one-of-a-kind color variants, allowing you to diversify your array of finishes.
How to Mix Shellac Flakes and Solvent
To begin, you must establish the proportion of shellac flakes to solvent. The standard starting point is a 2-pound cut, which is 2 pounds of shellac flakes dissolved in 1 gallon of solvent. This is equal to about a quarter cup of flakes to one cup of solvent.
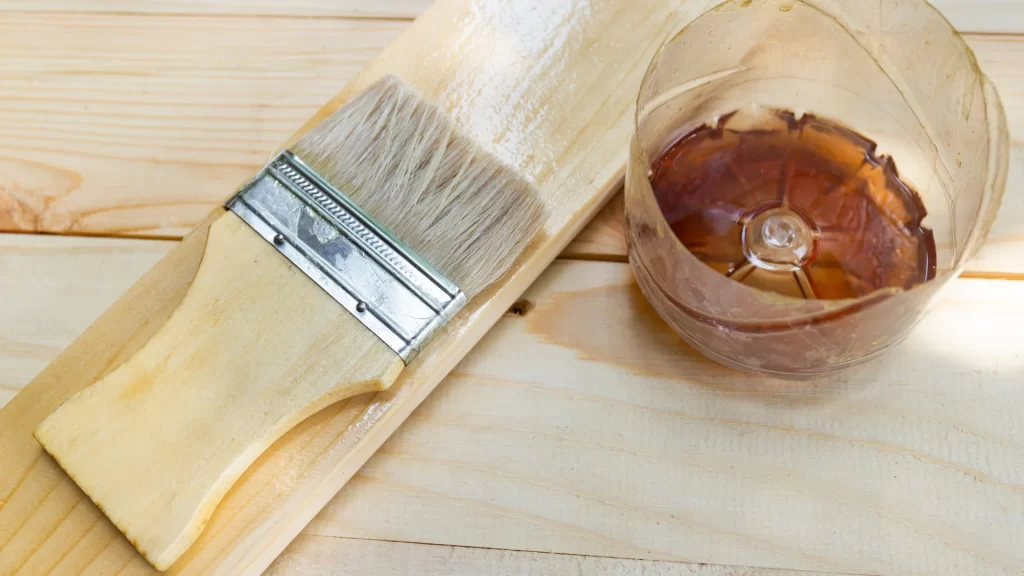
Measure the correct amounts of the shellac flakes and the solvent together in a container. Continue to occasionally stir the mixture until the flakes are completely dissolved. Depending on the size of the flakes and how old they are, this process could take anywhere from 2-12 hours. After the shellac has been completely dissolved, the substance can either be used immediately or stored for later use.
How to Create a Custom Shellac Varnish Recipe
You can personalize your shellac mix by doing experiments with various kinds of shellac flakes, adjusting the proportion of flakes to solvent, or adding colorants or additives. For example, if you use garnet shellac flakes instead of blonde, you’ll end up with a finish that has a deep, golden tone.
Altering the cut of the shellac gives you further control over the thickness and shine of the finish you create. A cut that is thinner, such as a 1 lb cut, can be used as a sealer or initial coat, while a cut that is thicker, such as a 3 lb cut, will produce a finish that is glossier.
Tips for Making Homemade Shellac
When making homemade shellac, always ensure your equipment is clean to prevent contamination. Use fresh shellac flakes, as older flakes may not fully dissolve. Also, stir your mixture regularly during the dissolving process to help speed up the process. When storing your shellac, keep it in a cool, dark place to maintain its quality over time. And remember, practice makes perfect. Don’t be afraid to experiment until you achieve the results you desire.
How to Apply Shellac Sealer and Finish
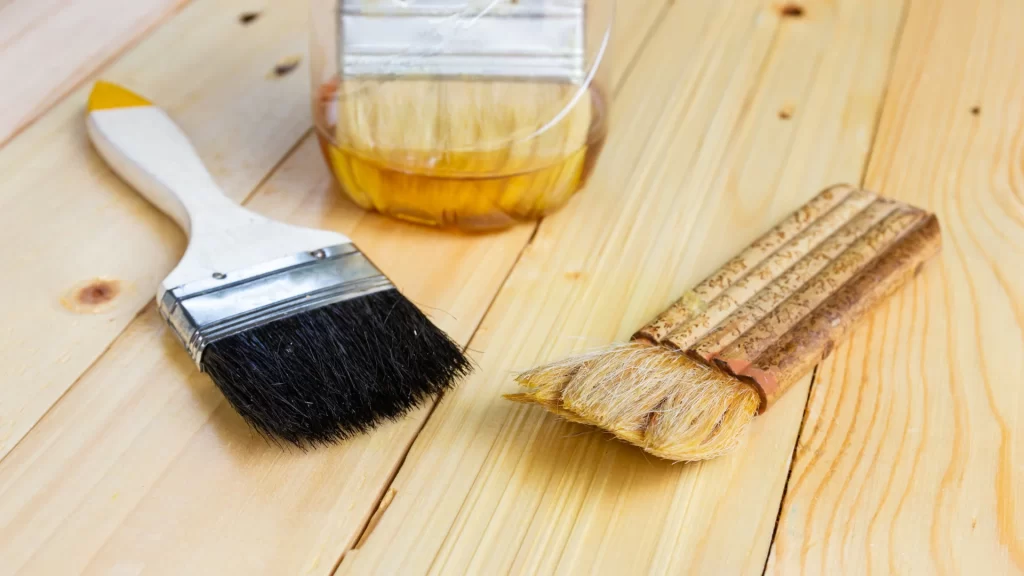
Shellac can be applied using a pad, brush, or sprayer, depending on your preference. Make sure that the surface that will be coated is clean and free of dust before you apply the finish. To begin applying the shellac, start with very thin coats and wait for each layer to dry before moving on to the next. To prevent bleeding through when painting or staining, apply a very thin coat of shellac first.The desired thickness and shine of your finish will determine the number of coats you need to apply to achieve those results.
Shellac sealer can effectively seal in stains and odors, making it a great choice for refinishing antique furniture.
Techniques for Achieving the Best Shellac Wood Finish
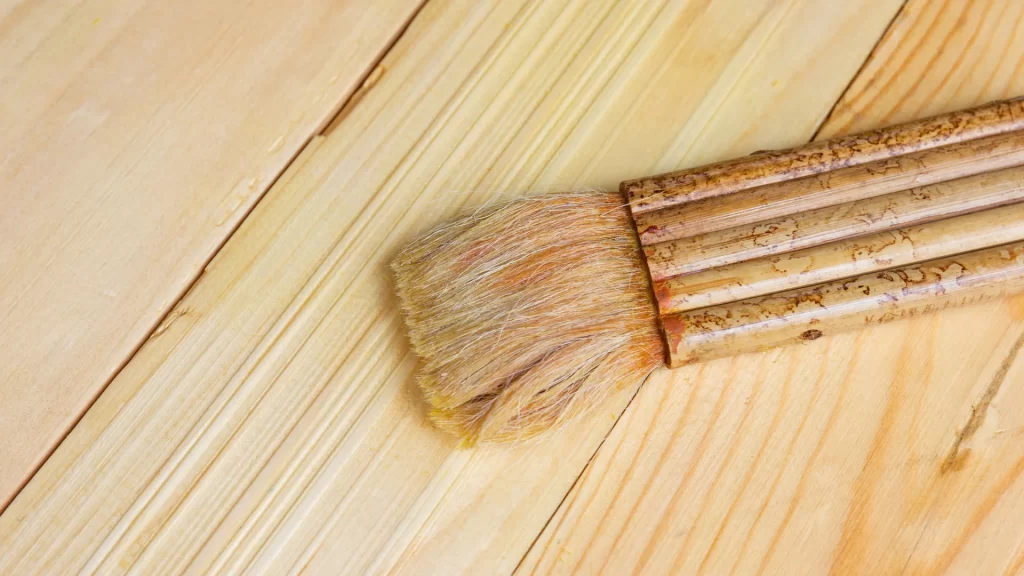
Preparation is the most important step in the process of achieving the best shellac wood finish. Before applying the finish, sand the wood surface until it is smooth and eliminate all dust. Shellac should be applied in the same direction as the wood grain, and overlapping strokes should be avoided. After applying multiple coats of the finish, use sandpaper with a fine grit to lightly sand the surface so that any defects can be removed. Finally, if you want the final layer to have a very glossy appearance, consider rubbing it with a soft cloth.
How to Maintain and Preserve Your Shellac Finish
Consistently dusting the shellac finish on your furniture with a soft cloth is required for proper maintenance. Water and other strong cleaning chemicals should be avoided at all costs because of the potential harm they could cause to the finish. The finish can be readily brought back to its original state by applying a new layer of shellac. This is recommended if the finish becomes scratched or dull over time. Shellac is soluble in alcohol, which makes it easy to make repairs; all you need to do is apply a new coat of shellac after applying a light application of denatured alcohol to the damaged area and rubbing it in gently.
Shellac customization mixes not only allow you to tailor your finishes to your specific needs but also add a level of personalization and craftsmanship to your projects. With patience, practice, and creativity, you can master the art of shellac mixing and elevate your woodworking projects to new heights.